
Blow It !
V0.5 It is going technical
Hello there !
With a new week comes a new dev log !
The past week the whole team mostly worked on the implementation of different systems in our project. Unfortunately, we don't have such a different result from last week, but we mostly created building brick that will help us to do amazing things. We also worked a lot on the characters movement systems.
Character respawn system :
Starting from now, our characters have the amazing ability to die (wouhouu !!). For the moment, the only way they can die, is by hitting a trigger zone noted as a death volume. When a character dies, its mesh is transformed into an orb, and this orb will move straight forward to the latest spawn position without any collision and the input of the dead character are disabled during that time. When the character reaches back the spawn position, the input are enabled back and the character mesh becomes visible again. The character isn't vulnerable to any damage during a short amount of time when it respawns and start to wink during that time. That sounds pretty easy, but we faced two major problems :
- After a first implementation of this behaviour, the camera wasn't following the dead character. This was simply due to the fact that the camera only follows the game object that have a PlayerInput component enabled. So, a manual deactivation of the input was needed.
- Our player game objects are physics objects that move using physic functions. The death orb moves using a simple translate. there were some conflicts between our physic objects and this tranlate movement. We had to find the correct physic values to disable in order to mach the character going back to the correct spawn position.
Death conditions :
For now, in our game, we have two death conditions :
- When the character hits a death volume (e.g. when out of the map)
- For the battery, when out of energy.
If the character dies with less than the half of its total amount of energy, it will respawn with the half of the maximum amount of energy.
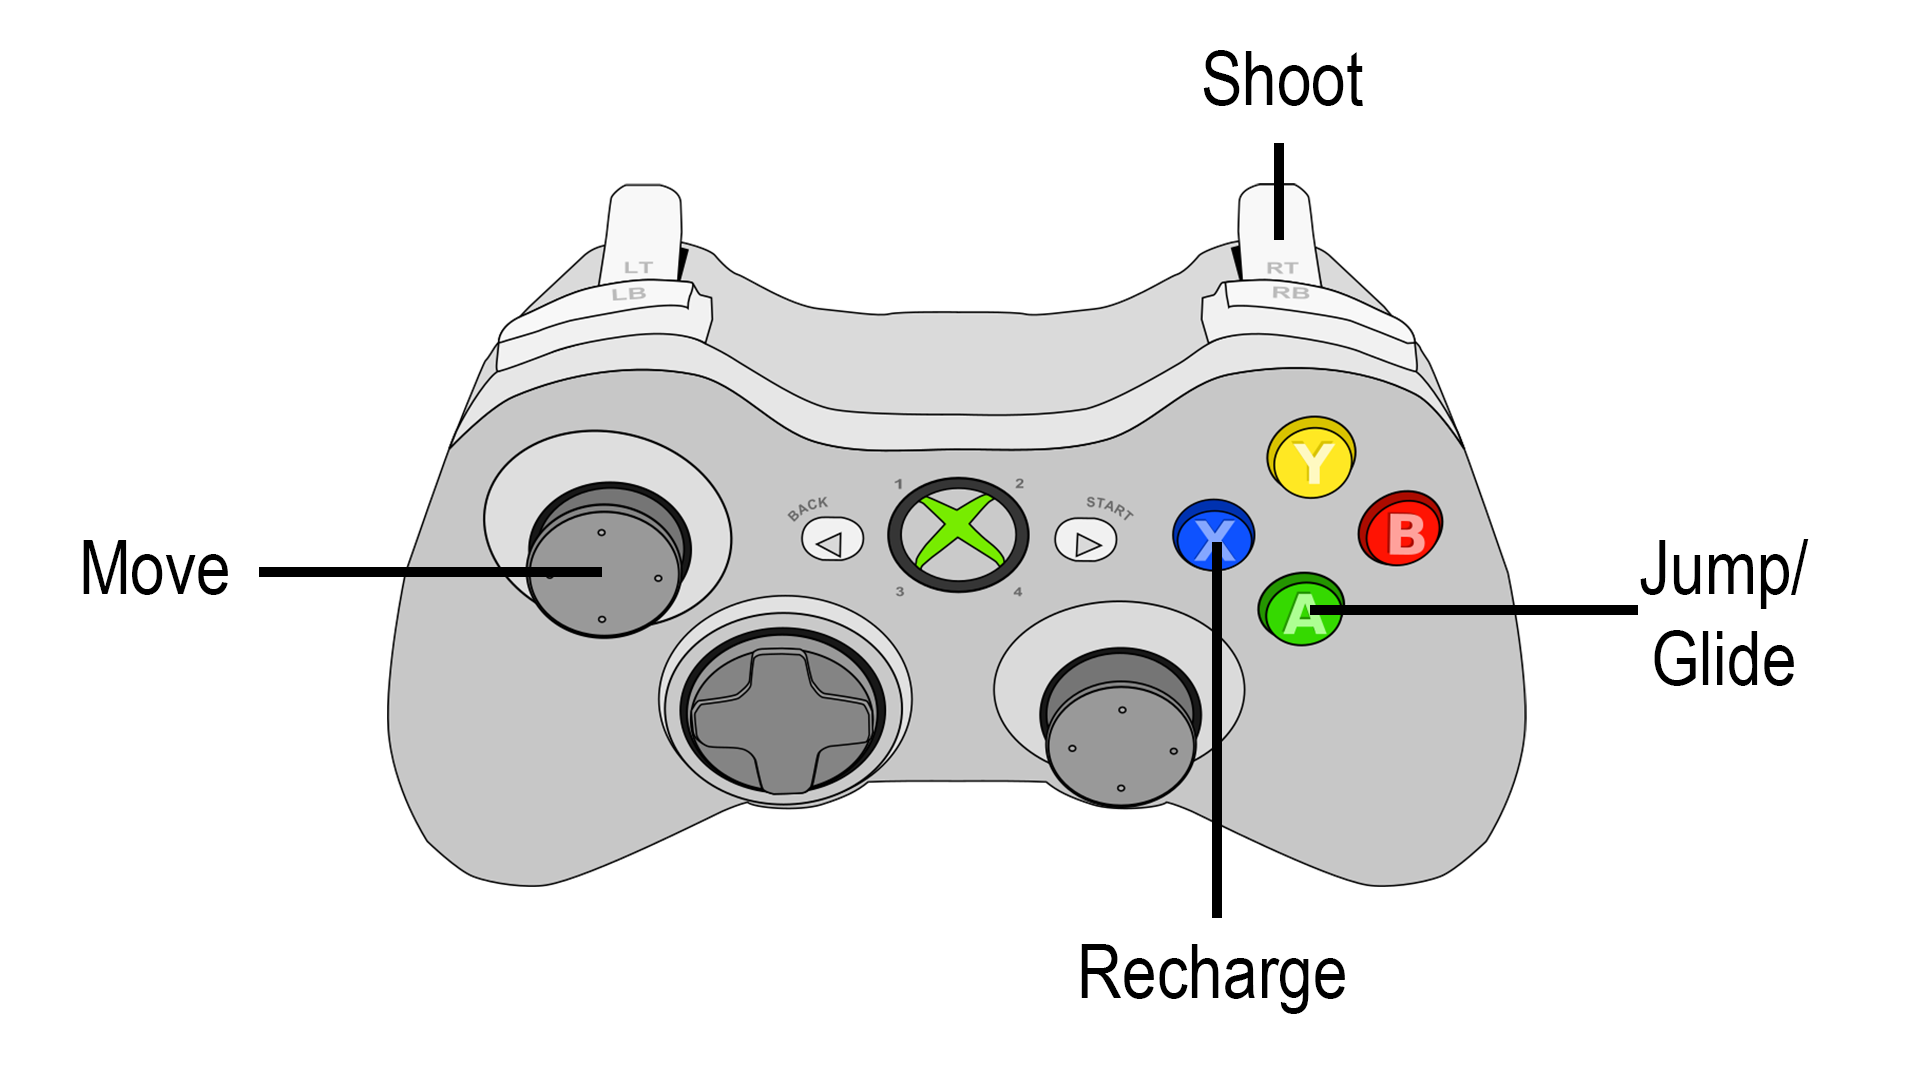
Battery Recharge system :
One of the most interesting mechanic in our game is the fact that the battery can recharge its energy by being in the light. Unfortunately, knowing how brightly lit is a surface in Unity is a real struggle and we weren't able to find a convenient solution for that. (All the solution we found required to make GPU calculations to get this information).
Hopefully, we found a way easier solution that is more than convenient in our situation.
Actually, the only light that is really brighting in our game is the main directional light, which acts as a sun in our scene. Starting from this fact, we decided to make our light calculations only based on this single directionnal light. Starting from this fact, the implementation was pretty simple. At each fixed frame, we are making a raycast starting from a point just on the top of the battery character and going to the opposite direction of the directionnal light.
If the raycast hits something, that means there is an obstacle between the character and the "sun" if this is the case, that means the character is in the shadow and it cannot charge. If the raycast doesn't hit anything, the battery can charge.
We also linked the battery to a UI slider so we can visually see this Energy system.
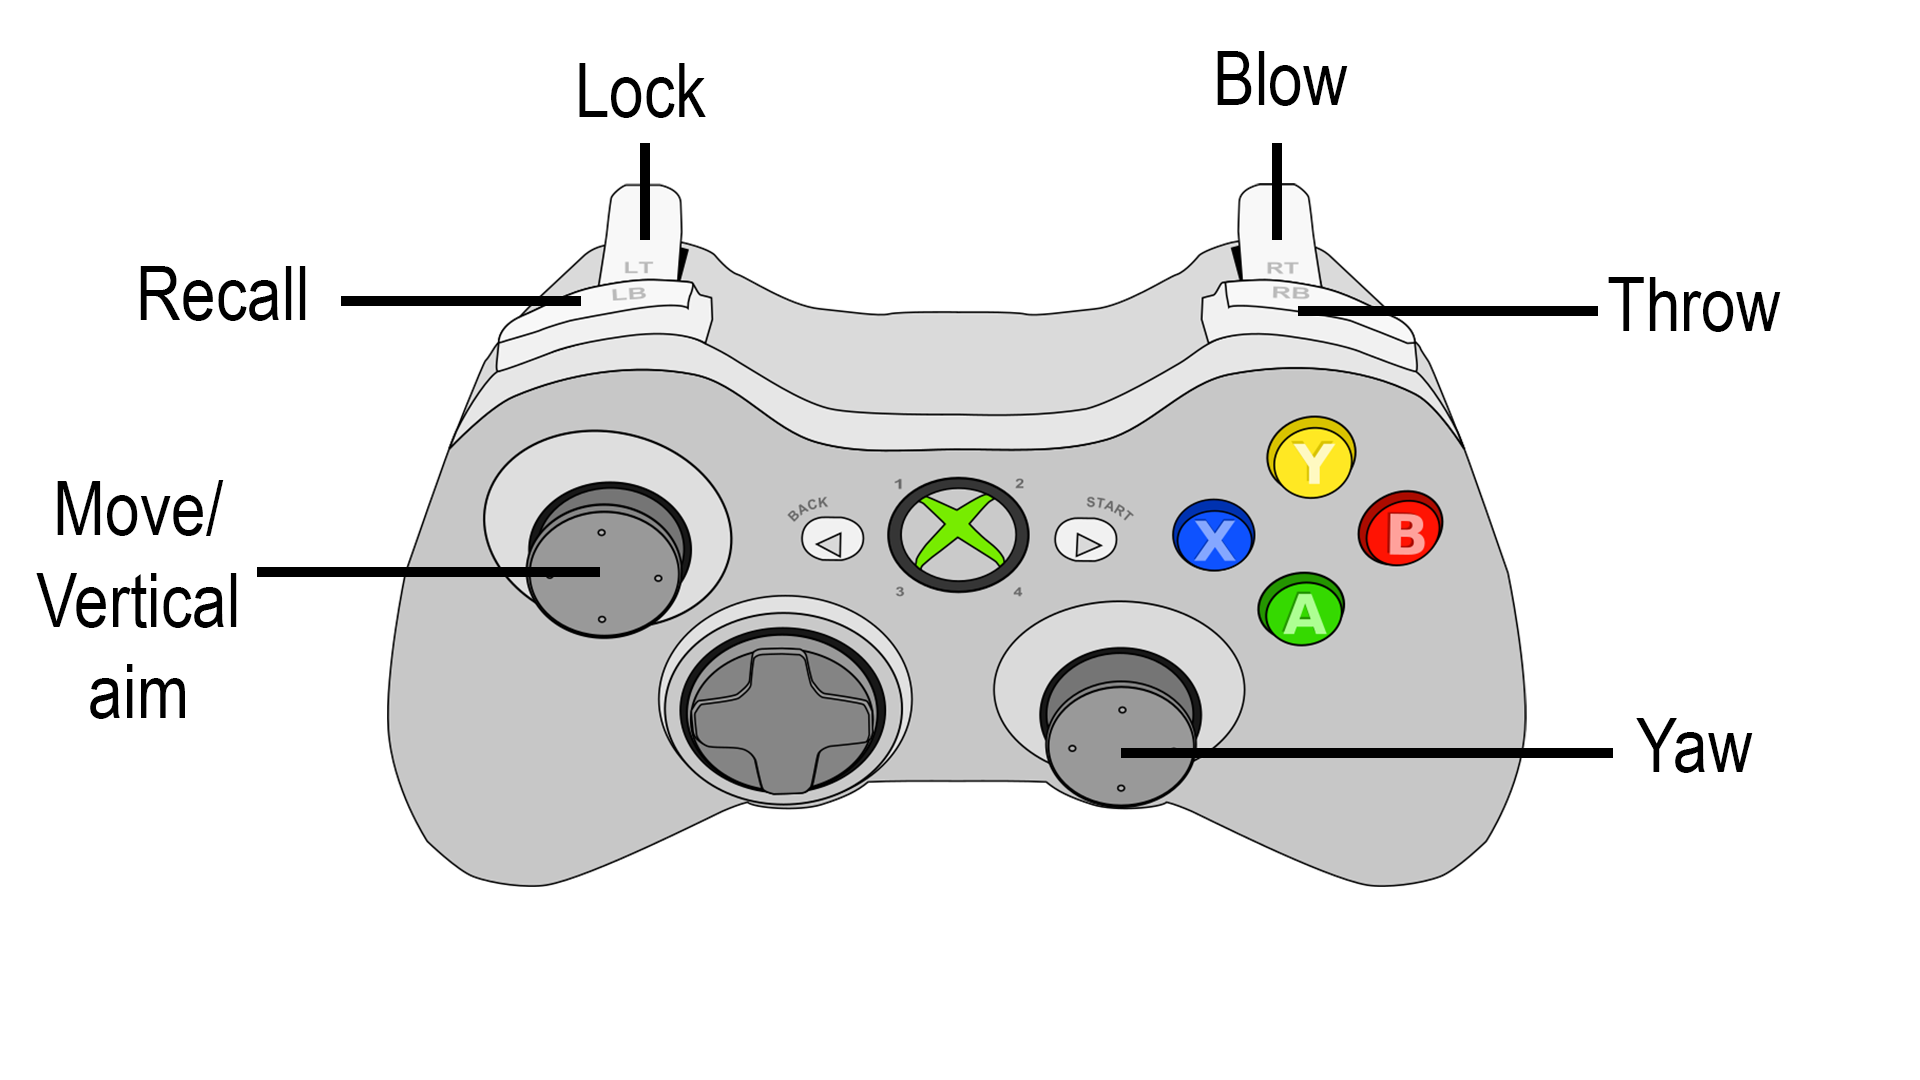
Aiming mode :
We created a system to help the fan character to aim correctly. When this characters enters in aiming mode, it will not move move anymore. So he's able to blow without being pushed.
Also, in aiming mode, some indicators are showed to the player to help him to aim more accurately. A line, that goes in the character look direction appears. If the player can it an attachable surface with his projectiles while aiming, a preview of the potential platform appears at the position it should spawn, to help the player to have a better vizualisation of how the platform will appear.
Out of map trigger zone:
Around the level, we placed a trigger zone that kills the player. If the player leaves the level bounds, he dies and move to the latest spawn position.
Battery gliding system :
One of the core movement mechanic in our game, is the abilty for the battery to glide in the air. I discovered the hard way that making a convincing gliding system is not such an easy task. We had to create a gliding system that fun to play, intuitive for the player and easy to manage.
Here is the way it works :
- To activate it, the player has to press the jump button while in the air and keep it pressed. When the battery is gliding, its movement is not managed directly by changing its 3D velocity but by appling forces on it. That way, we can give the player a really floaty feeling while it is gliding.
- The gliding stops either when the battery hits the ground or when the player releases the button.
- while the character is gliding, it is less affected by the gravity, and then can stay longer in the air.
To make the gliding fun to play, the character moves faster while gliding than walking, the gliding can be used as a small boost for the battery. (Giving the gliding an energy cost is definitely something we could discuss later on).
One of the most difficult things to do when creating gliding, is giving the player the feeling that the character is actually gliding and not flying. To achieve that, I made multiple tests to determine which gravity reduction I should apply to the character to keep a convincing gliding effect.
I encountered some issues while developping this gliding system, the main issue I had to solve, was the fact that the rotation of the battery was, for an unknown reason, really 'laggy' while the character was in the air. To solve this, I took the decision to apply the rotation not on the whole battery object but only on its mesh. It is probably not the best solution, but at least this is one which is solving our issue for the moment. Unfortunately, solving this issue that way, will cause us troubles when the time will come to make the battery aim to throw electric orbs. We definitely will have to work on it later on to solve this issue.
Another issue that I encountered is the fact that the character had more mobility in the air without gliding than by gliding, from now, when the character is in the air and not gliding, its speed is reduced.
ADDED: Blowable Interfaces so that we can do somthing difffrent for each object that can be blown and not just activate and deactivate them.
ADDED: Fan loses energy over time and cant move when has no energy
CHANGED: Fan blowing is now a force clamped to certain force because it then more like a dash I used interfaces because its a better system then using inherentance as you can do specific things for every blowable or chargable object like making a windmill that rotates when you blow into it so we can use it as an elevator.
I added the energy decay over time with the fan which was easy enough to do plus made it so the character canot move if his energy is under 0 also made a blow system that uses raycasting instead of a cone collision because i think its smarter to do this way as you can then do calculations based on where the ray hits and do stuff like that
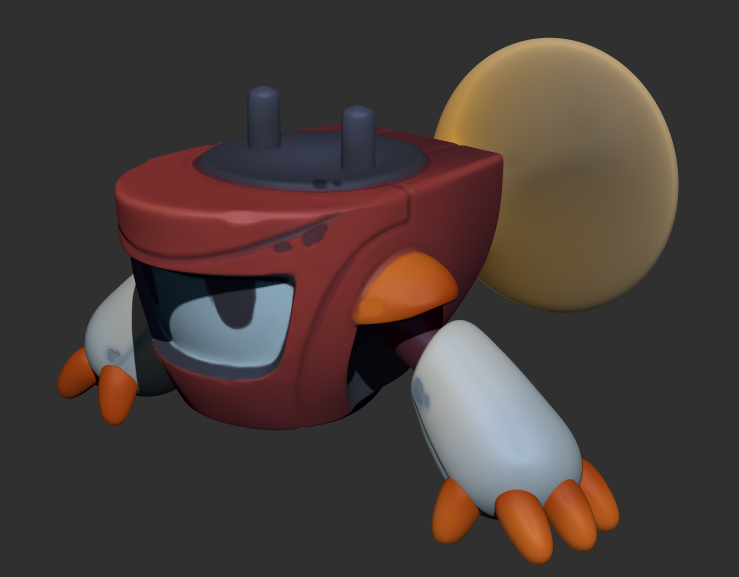
Enemy model:
Enemy 3d model has been started. For now it's just the high poly mesh, some work still needs to be done, but the enemy has a face now. The color palette is fully red and orange to really show how evil these guys are.
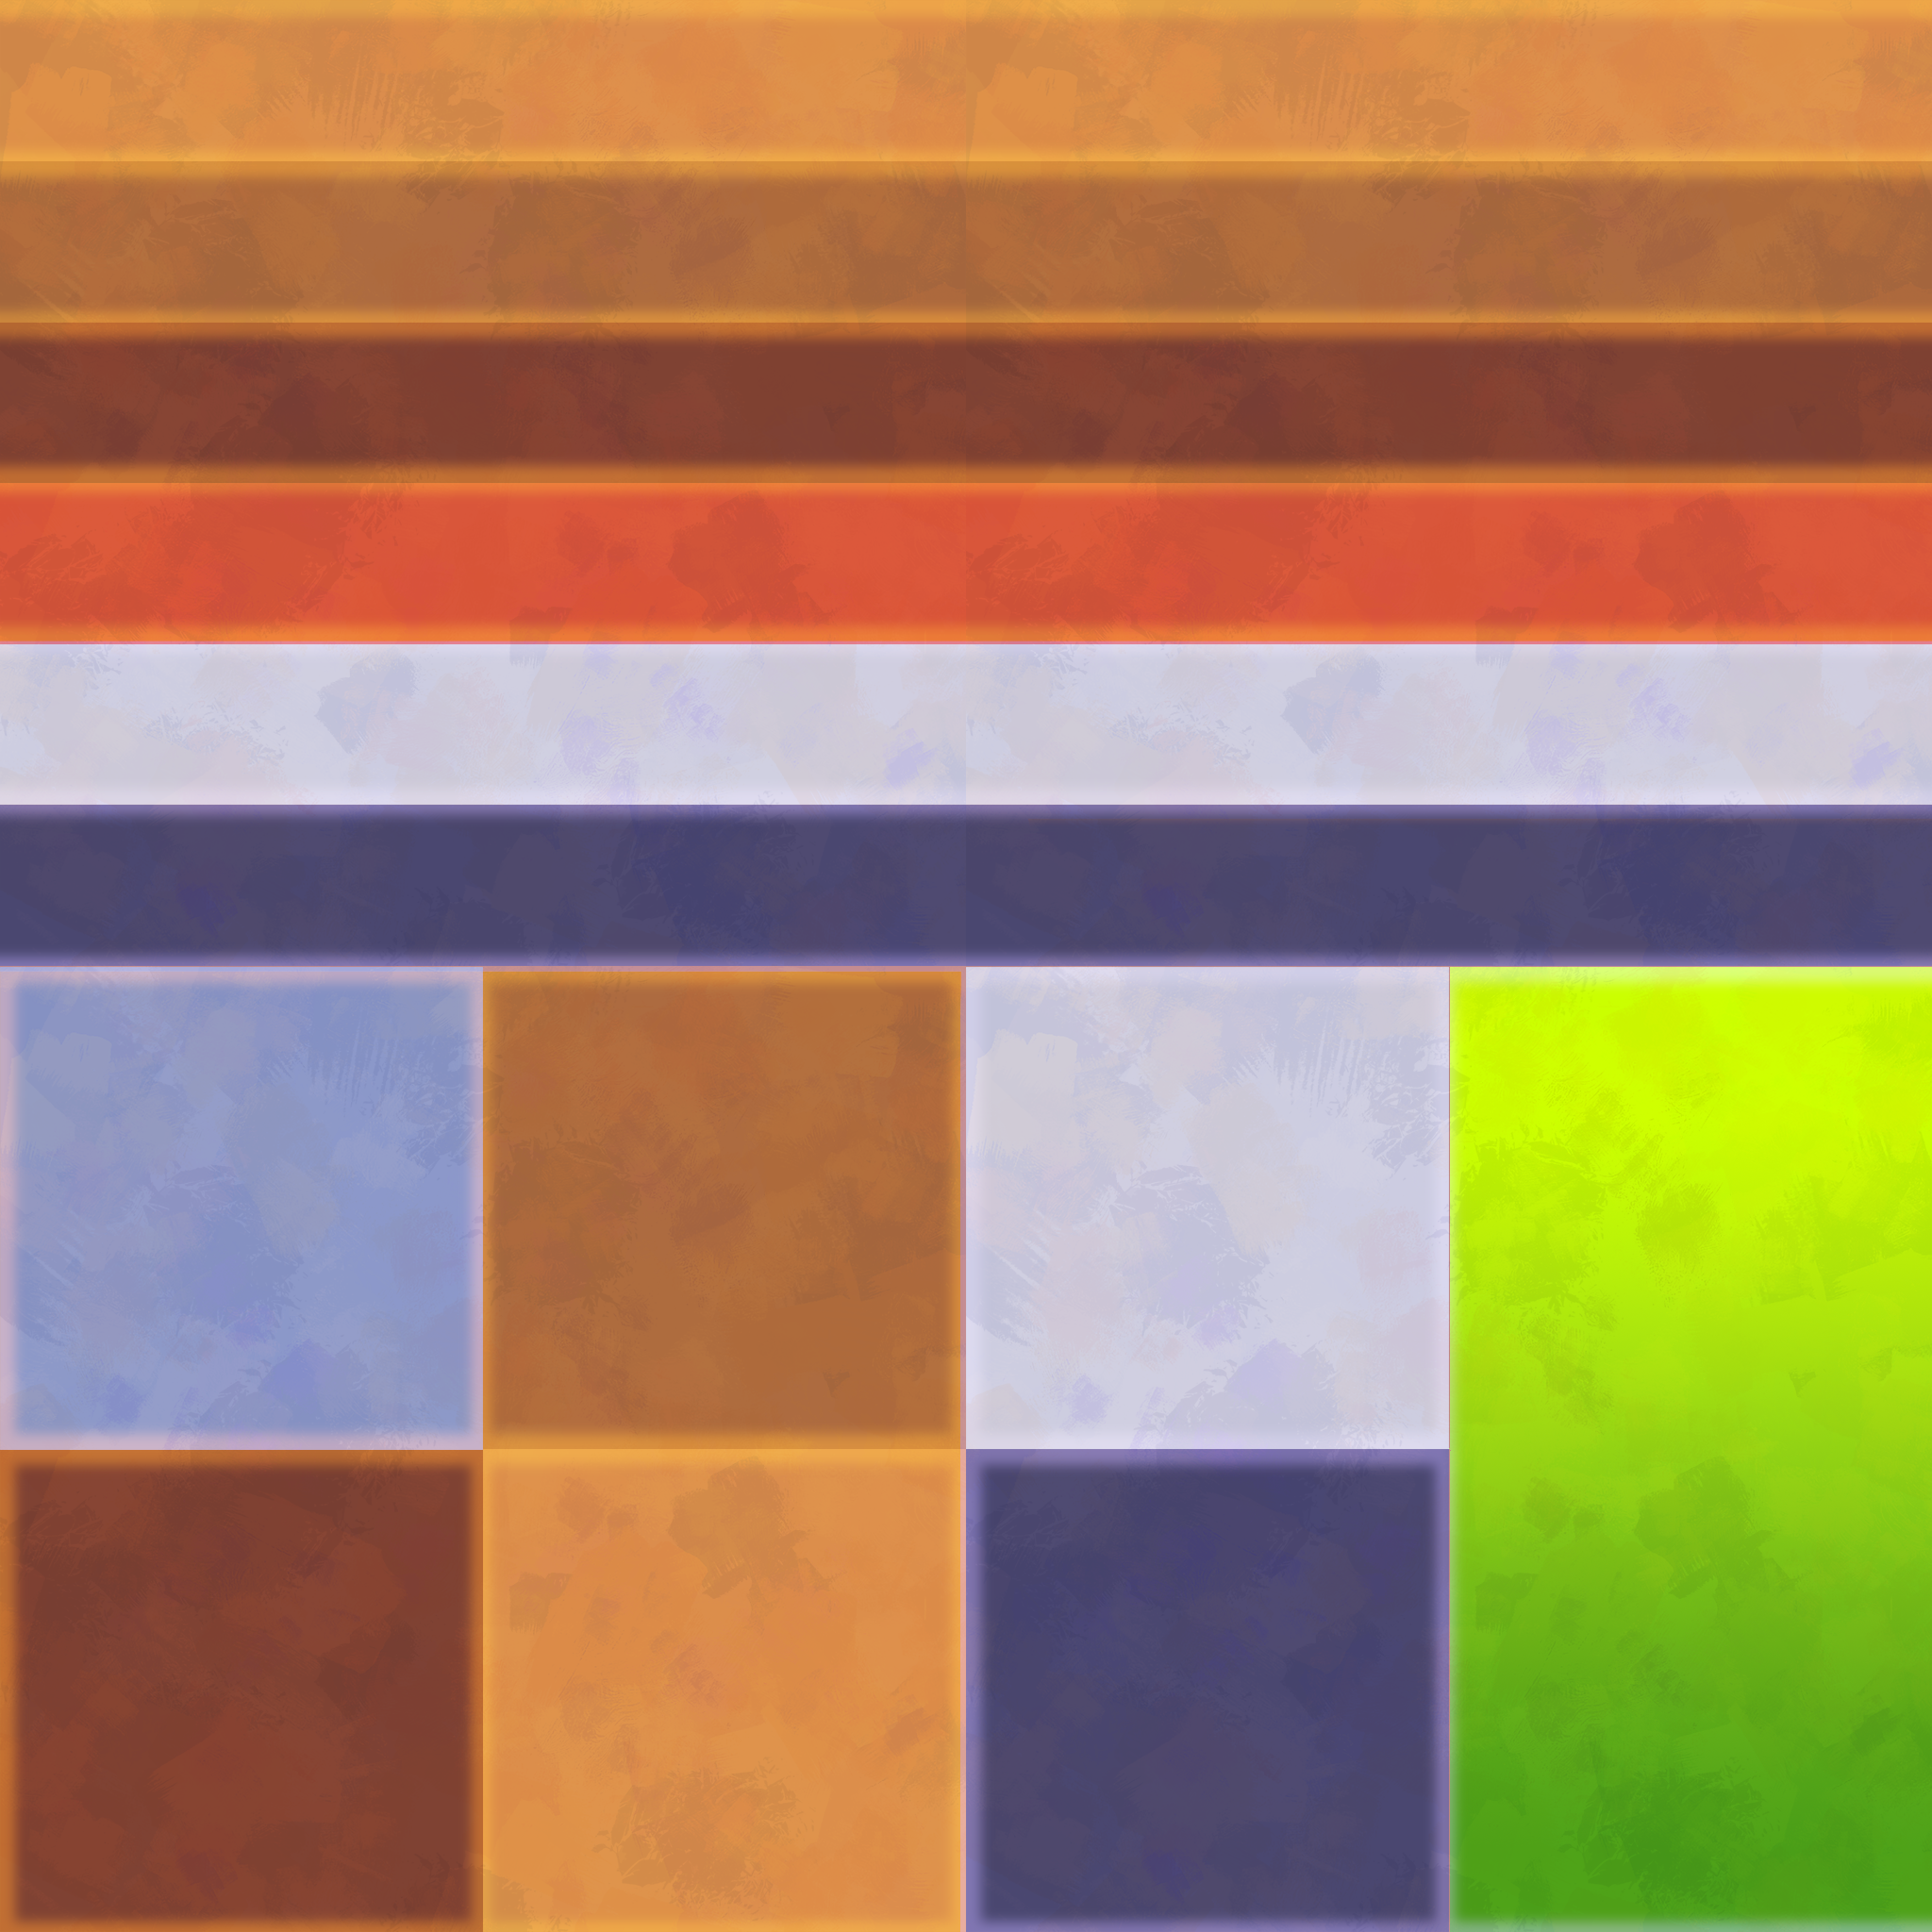
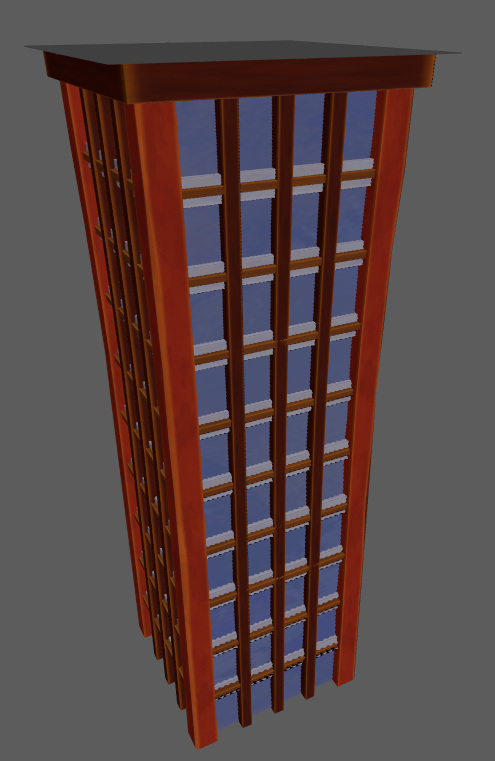
Building textures :
The trim texture has been updated to include foliage and a wider variety of colors. And a texture update means an unwrap update. The base buillding models had to be unwrapped differently than they were before. With the trim texture set, the process will be a lot faster from now on.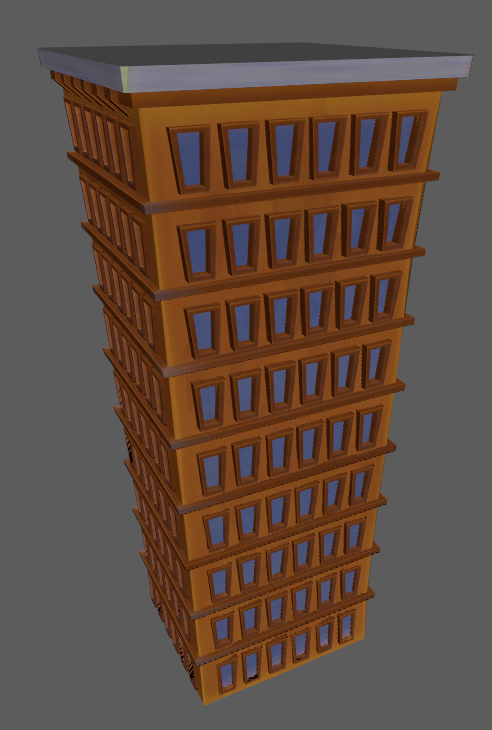
Unwrapping time! :
Made the unwrap for the pressure plate seeing that i added a random offset to all my points to make to model look more stylized. I had a lot of trouble with cleaning the unwrap. For now its just the uv shels that are made this is done because afterwards we will make a Trim texture and then we can add the uv shels on to the right material of the trim.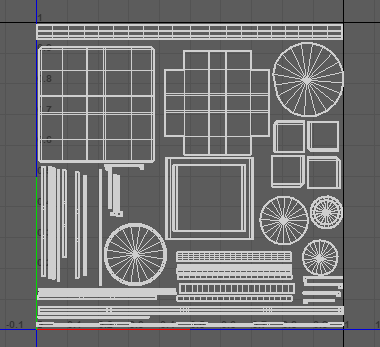
Made the unwrap for the spike trap when starting on the unwrap i realised it would be easier to only unwrap one of the spikes and to then copy the spike seeing that this would save me a lot of time. For now i just made the uv shels so that later on when the trim textures are made i can easily place them in the right position.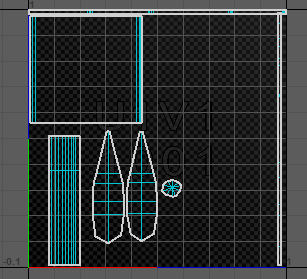
Made the unwrap for the movable box. Because the box had a lot of small details and i gave all points a random offset to make it look a bit more stylized it took me very long to clean up the unwrap and to make everything look good. For now i just made the uv shels so that later on when the trim texture is done i can place the uv shels in the right position.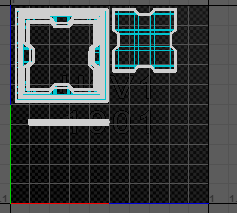
Made the unwrap for the movable platform the model had a lot of details this made it a bit harder to unwrap. For now i just made the uv shels so that later on when the trim textures are done i can place them on the right material.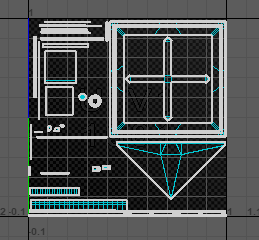
Made the unwrap for the bridge this took me some time seeing that the model was pretty complex. I also deleted some of the parts that i had multiple times so that after the unwrap is done i could copy them again and speed up the process. Becuae i added a random offset to all the points to make the model look a bit more stylized it took me a long time to clean up the unwrap. For now i focussed on making the uv shels so that later on when the trim texture is done i can add all the parts to the right material.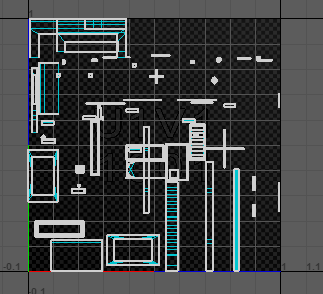
I changed the model of the pressure plate to make it look a bit more stylize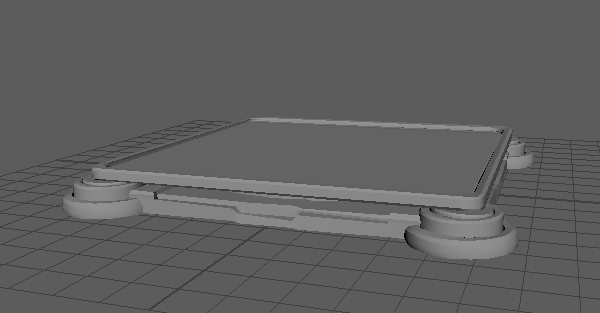
I changed the model of the platform by adding some more height difference this way the model looks a bit more stylized.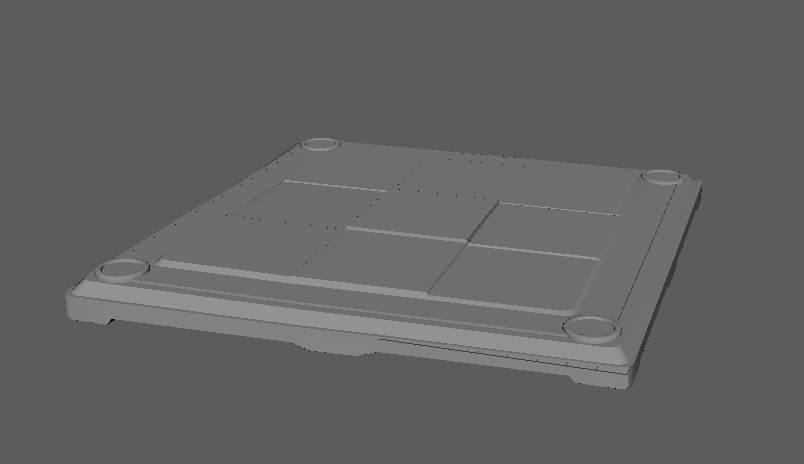
I started working on the unwrap for the rotateble wheel for now i finished the bottom part and i did i big part of the top part too. Because i gave all points a random offset to make the model look more stylized its taking me a while to clean up the model. For now i am focussing on the uv shels and then later on when the trim texture is done i can place them in the right postion for the material it needs.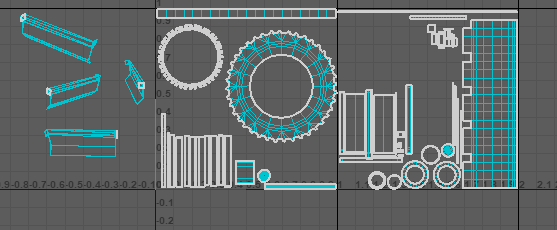
And....
That's it !!
As you can see, a lot of work had be done during this week, but unfortunately not that musch that we could showcase. However, now that this work is done, the fundations are there to make an incredible game !!!
We hope you'll continue to follow us.
See you next week !
Leave a comment
Log in with itch.io to leave a comment.